
How Do I Improve Soil Before Hedge Planting?
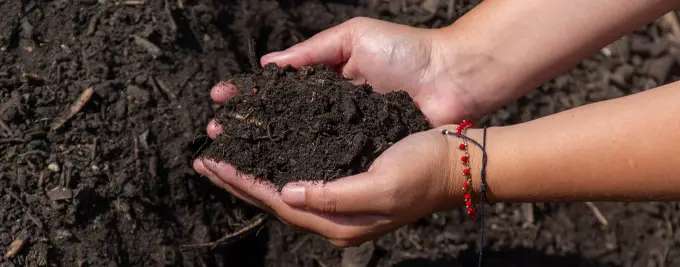
Good soil preparation gives hedge roots a broad, workable area in which to spread. The correct method depends on whether the ground is clay, sandy, compacted, chalky or prone to waterlogging.
Quick Answer
Improve soil before hedge planting by clearing weeds and grass, loosening the complete planting strip and mixing suitable peat-free organic matter with the existing soil where needed. Heavy clay requires compaction and drainage to be addressed, while sandy soil benefits from organic matter that improves moisture retention. Do not fill a narrow trench with pure compost or rely on fertiliser to correct poor drainage. If water remains in the planting line after rain, resolve the drainage problem before planting.
Quick Facts
| Area to prepare | The complete planting strip, not only individual holes |
|---|---|
| Suitable soil improver | Well-rotted, peat-free organic matter |
| Heavy clay | Relieve compaction and check drainage before planting |
| Sandy soil | Add organic matter to improve moisture and nutrient retention |
| Waterlogged soil | Correct the drainage or raise the planting line first |
| Fresh manure | Do not place fresh manure around new roots |
| Concentrated fertiliser | Keep it away from exposed roots |
| Mulch after planting | Approximately 5–7.5cm, kept clear of the stems |
Assess the Existing Soil Before Improving It
Before adding compost, fertiliser or any other planting product, examine the soil along the complete hedge line.
Dig one or two trial holes and look at the soil below the surface. Check whether it breaks apart easily, sticks together as dense clay, feels loose and gritty, contains building rubble or remains wet after rainfall.
The aim is not to create unusually rich soil around each plant. It is to provide a broad, workable rooting area that drains adequately while retaining enough moisture for the new hedge.
A simple soil pH test can also be useful where the ground is visibly chalky, previous plants have struggled or the chosen hedge species has particular soil preferences. Do not add lime or acidifying products without first knowing the existing pH.
Prepare the Complete Hedge Line
Remove turf, thick grass, perennial weeds, old woody roots and building debris from the planting area. Grass and established weeds compete strongly with newly planted hedging for moisture.
For a long hedge, preparing one continuous strip is usually better than creating a row of small isolated holes. Loosen the ground with a garden fork or suitable machinery so roots can move beyond the original planting position.
Break up compacted soil at the base and sides of the trench. Avoid leaving smooth, polished surfaces, particularly in clay, as these can restrict root movement and water drainage.
Do not cultivate heavy ground while it is saturated. Wet clay can smear into a dense layer that becomes harder for roots and water to penetrate once it dries.
How Should Different Soil Types Be Improved?
Heavy Clay Soil
Clay soil often holds useful nutrients and moisture, but it can become compacted and slow to drain.
Loosen a broad strip rather than digging deep, narrow holes. Mix a moderate quantity of well-rotted organic matter or peat-free Hedge Planting Compost with the existing soil where this will improve its structure.
Do not rely on adding a small amount of sharp sand or grit. A token quantity is unlikely to alter heavy clay properly and can sometimes make the soil more difficult to manage.
If the planting trench repeatedly fills with water, compost alone will not solve the problem. Drainage may need to be improved, the hedge may need to be planted on a slightly raised line, or a species better suited to damp conditions may be required.
Light or Sandy Soil
Sandy soil drains quickly and can lose moisture and nutrients more rapidly than heavier ground.
Blend suitable organic matter through the planting strip to improve its water-holding capacity. After planting, apply an organic mulch over moist soil and monitor the root zone regularly during dry weather.
Sandy ground may still appear dry shortly after rain, particularly beside walls, fences, paving or established trees. These positions can create rain shadows or additional competition for moisture.
Compacted or Construction-Damaged Soil
Soil around new buildings, driveways and recently landscaped sites may contain rubble, compressed subsoil or only a shallow layer of usable topsoil.
Remove significant rubble and loosen the complete rooting area. A series of compost-filled planting holes within heavily compacted ground can hold water like small containers and may prevent roots from spreading into the surrounding soil.
For a long landscaping, trade or commercial planting run, mechanical cultivation may be worthwhile where access allows. The soil should be loosened without being pulverised or worked while saturated.
Chalky Soil
Chalky soil is often free-draining and can contain relatively little moisture-retentive organic matter.
Adding well-rotted organic matter can improve soil structure and moisture retention, but it is rarely practical to change the natural pH of strongly chalky ground permanently. The more reliable approach is to choose hedging plants that tolerate alkaline soil.
Naturally Good Loam
Good, workable loam may need very little improvement.
Remove weeds, loosen compacted areas and preserve the existing soil structure. Adding large amounts of rich compost to already fertile soil is unnecessary and can create an abrupt difference between the planting strip and the surrounding ground.
How Much Compost Should Be Added?
There is no single compost quantity that suits every hedge or garden.
The amount depends on the existing soil, plant size, root type and length of the hedge. Poor sandy soil or compacted ground may benefit from more organic matter than established garden loam.
Mix the hedge planting compost evenly with the excavated soil. Do not replace all the existing soil with compost and do not leave the roots sitting in a narrow pocket of pure compost.
After mixing, the backfill should still look and behave like garden soil. The objective is to improve the surrounding ground, not create a separate growing medium inside the trench.
Only use well-rotted manure. Fresh manure should not be placed around exposed roots.
Should Rootgrow or Fertiliser Be Added?
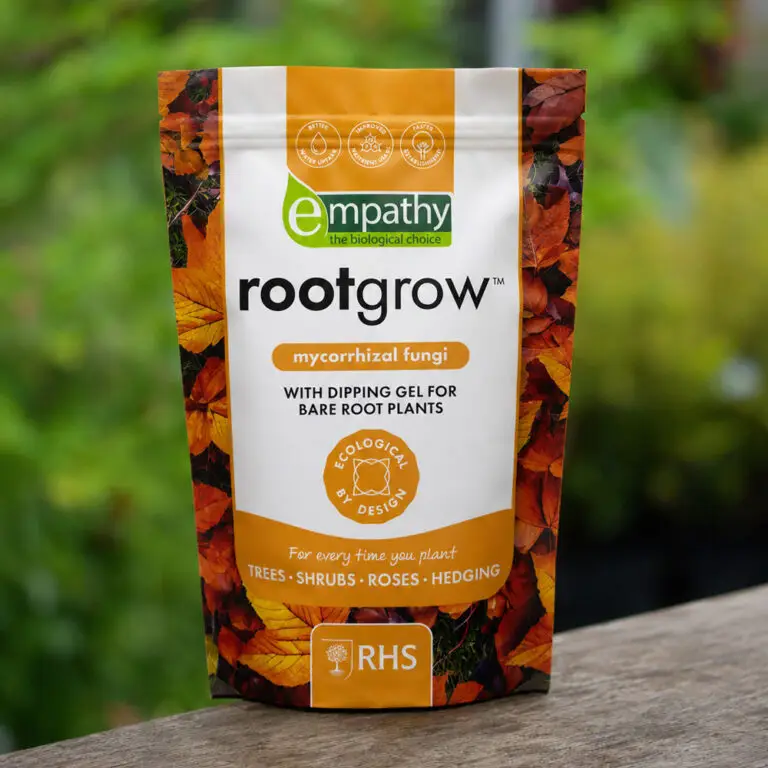
Rootgrow Mycorrhizal Fungi can be applied when the hedge is planted. It must be used according to the product instructions and placed in direct contact with the roots.
Rootgrow is not a replacement for drainage, correct planting depth, good soil structure or watering. It is an optional planting treatment rather than a product for changing the soil itself.
A newly planted hedge does not automatically require granular fertiliser in the trench. Avoid placing concentrated feed, bonemeal or other fertilisers directly against exposed roots unless the product is specifically labelled for that use.
Correct soil preparation, weed control and moisture management are usually more important during initial establishment. A suitable hedge feed can be applied later where the soil condition or plant growth indicates that feeding would be useful.
Finish the Soil Preparation After Planting
Water the hedge thoroughly after backfilling. This settles soil around the roots and can reveal loose, leaning or sunken plants that need correcting.
Apply approximately 5–7.5cm of suitable organic mulch over the prepared strip while the soil is moist. Keep the mulch clear of the stems rather than piling it against the bark.
Mulch helps reduce evaporation and suppress competing weeds, but it does not remove the need to check moisture beneath the surface.
Long hedge runs and plants installed in sandy, exposed or rain-shadowed positions may benefit from a correctly installed irrigation system. Check several positions along the hedge to make sure water reaches the complete planting line.
Common Soil Preparation Mistakes
Avoid these common problems:
- Digging isolated compost-filled holes in compacted soil
- Planting while clay soil is saturated and sticky
- Filling the entire trench with pure compost
- Assuming a small amount of sand will correct heavy clay
- Planting into ground that remains waterlogged
- Adding fresh manure around new roots
- Placing concentrated fertiliser against exposed roots
- Digging excessively deep and allowing plants to sink
- Leaving grass and perennial weeds around the hedge
- Improving the trench without loosening its compacted base or sides
Good preparation creates a consistent transition between the root system, the improved planting strip and the surrounding garden soil.
Gwynne's Grower's Tip
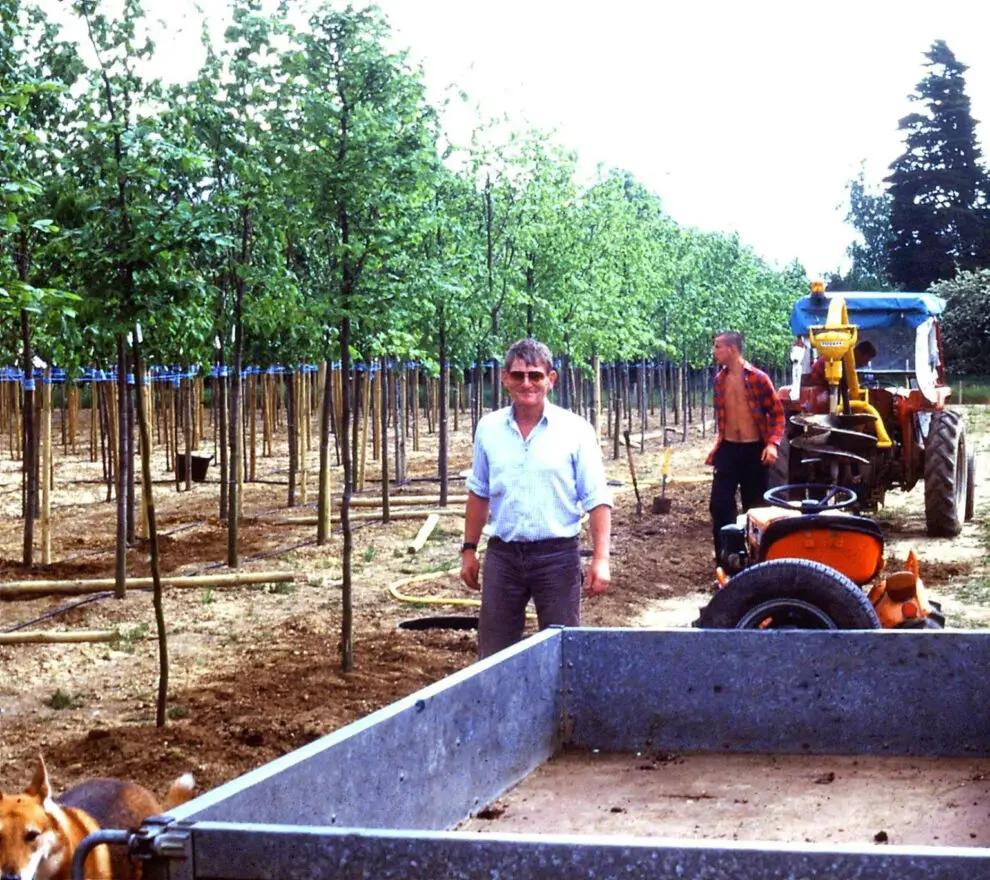
On nursery and landscaping jobs, poor establishment often begins with a planting trench that looks good at the surface but has a compacted base or smooth, smeared sides. I push a fork into several points along the line and check whether water can move away before any plants are positioned. Where the surrounding ground is hard, improve a wider strip rather than making a soft pocket of compost. The roots need a route into the existing soil, not a comfortable trench that they struggle to leave.
More General Advice
For more detailed growing advice or to view the plants available from our nursery, use the links below.
Useful Planting Essentials
Selected products that may help with planting, establishment and ongoing hedge care.
Rootgrow Mycorrhizal Fungi
Rootgrow can be applied at planting so the product is in direct contact with the roots, where appropriate for the plant and planting method.
View product
Hedge Feed
Hedge Feed provides balanced nutrition where established hedging would benefit from feeding as part of normal care.
View product
Hedge Irrigation
A hedge irrigation system can make it easier to water a new hedge consistently, particularly on longer runs and during dry weather.
View product
Hedge Compost & Mulch
Compost and mulch can support soil preparation, moisture retention and weed suppression when used appropriately around new hedging.
View product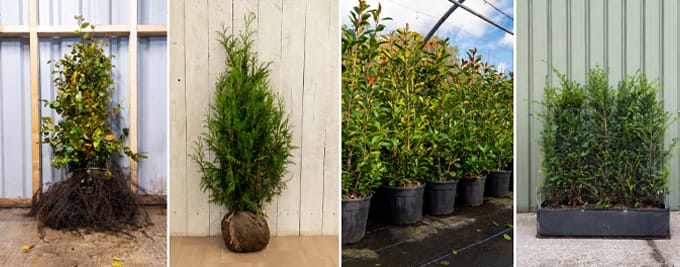
What Are the Different Hedging Root Types?
Bare root, root ball, pot-grown and instant hedging suit different budgets, planting times and levels of initial coverage. Understanding how each is…
Read answer
What Is the Best Soaker Hose for Hedges?
A well-chosen soaker hose makes it easier to water a hedge evenly without wetting the foliage or carrying a watering can along…
Read answer
What Is the Best Watering System for a Hedge?
A good hedge watering system should deliver moisture slowly and evenly along the whole planting line. The most suitable setup depends on…
Read answer
Why Is My Hedge Turning Brown?
A hedge can turn brown for several very different reasons, including dry roots, waterlogged soil, frost, wind, trimming damage or disease. The…
Read answer
When Is the Best Time to Plant Hornbeam Hedging?
Hornbeam can be planted in several different forms, and the best planting time depends mainly on whether the plants are supplied bare…
Read answer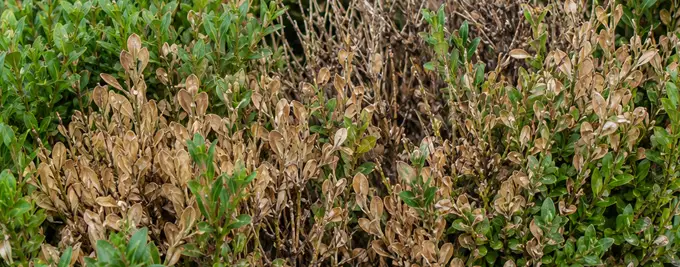
Can I Replace a Box Hedge With Green Spire After Box Blight?
Green Spire is one of the closest Euonymus alternatives to a neat low Box hedge. A previous box-blight outbreak does not infect…
Read answer
How Much Mycorrhizal Fungi Should I Use?
The correct amount of mycorrhizal fungi depends on the size and root type of the plants being treated. Calculating the quantity before…
Read answer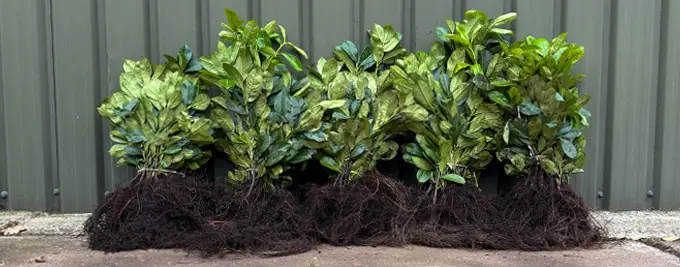
How Long Can Bare-Root Plants Be Stored?
Bare-root plants are vulnerable once they have been lifted because their exposed roots can dry out quickly. Correct temporary storage can protect…
Read answer