
How Long Should Drip Irrigation Run for Hedges?
Drip irrigation makes it easier to water a hedge evenly, but the timer setting must suit the pipe output, soil and size of the plants. A simple check beneath the soil is more reliable than using the same schedule throughout the year.
Quick Answer
As a starting test, run hedge drip irrigation for 30 to 60 minutes, then check whether moisture has reached approximately 10 to 15cm into the root zone at the beginning, middle and end of the line. Low-output systems, large root balls and newly planted instant hedges may need 60 to 120 minutes or longer. Adjust the runtime according to the water delivered, soil drainage, weather and plant size rather than relying on one fixed timer setting.
Quick Facts
| Starting test time | 30 to 60 minutes |
|---|---|
| Where to check | Beginning, middle and far end of the hedge |
| Check below the surface | Approximately 10 to 15cm into the root zone |
| Increase runtime by | 15 to 30 minutes at a time |
| Correct result | The complete root area is moist but not saturated |
| Longer runs may be needed for | Large pot-grown, root-balled and instant hedging |
| Reduce watering when | The soil remains wet, rain has been sufficient or conditions are cool |
| Main rule | Set the timer by water delivered, not minutes alone |
Set the Timer by Water Delivered, Not Time Alone
There is no single runtime that suits every hedge irrigation system. Two pipes can run for the same length of time while delivering very different quantities of water.
A pressure-regulated drip line may contain individual outlets with a stated litres-per-hour output. A porous pipe releases water gradually through the wall of the hose, with its performance affected by pressure, pipe length and installation. Hedging Plants Direct’s irrigation pipe contains internal nozzles designed to control water flow along the hedge, while Bronte Porous Pipe is designed to operate at low pressure.
Where the manufacturer provides an output in litres per metre per hour, use this calculation:
Required litres per metre ÷ output per metre per hour = runtime in hours
For example, if a drip line delivers 4 litres per metre each hour and you want to apply 8 litres per metre, the calculated runtime is two hours.
This calculation provides a starting point. The soil must still be checked because water may spread differently through clay, loam and sandy ground.
How to Test the Correct Runtime
The most reliable way to set a timer is to test the system in the actual planting area.
1. Begin With a 30-Minute Test
Run the irrigation for 30 minutes. This is long enough to begin showing how quickly water is being delivered and how it moves through the soil, without committing to a long watering cycle immediately.
2. Check Beneath the Surface
Move aside any mulch and inspect the soil approximately 10 to 15cm below the surface. With a newly planted hedge, check both the original root ball and the soil immediately around it.
The aim is to moisten the complete root area. A damp surface with a dry root ball underneath means the system has not run for long enough. Surface appearance alone can be misleading because soil may remain dry around the roots even when the top looks wet.
3. Inspect the Complete Hedge Line
Check at least three positions:
- Near the water supply
- In the middle of the hedge
- At the far end of the irrigation run
Do not assume that water reaching the first few plants means the complete hedge is being watered. A kink, blocked outlet, pressure loss or damaged section can leave part of a long hedge dry. HPD’s care guidance also recommends checking the beginning, middle and end of an irrigation run.
4. Increase the Runtime Gradually
If the root zone is still dry, increase the next test by 15 to 30 minutes.
Continue until water has reached the depth and width of the active root area. If water begins pooling on the surface, running downhill or leaving the soil saturated for a long period, shorten the cycle or divide it into two separate watering periods.
How Soil Type Changes the Irrigation Time
Sandy and Free-Draining Soil
Sandy soil allows water to move downwards quickly and may dry again soon afterwards. The irrigation may need to run more frequently, although each session should still be checked to ensure water is not simply passing below the active roots.
Mulch can help reduce evaporation and slow moisture loss from lighter soils.
Clay and Heavy Soil
Clay holds water for longer and absorbs it more slowly. A very long uninterrupted cycle may produce puddles or surface run-off before moisture has spread evenly through the root zone.
It may be better to split the watering into two shorter cycles, allowing time between them for the water to soak into the soil. Do not irrigate clay ground that is already saturated.
HPD’s guidance explains that free-draining soils usually require closer watering, while heavy soils retain moisture for longer and can become waterlogged if too much water is applied.
How the Size of the Hedge Affects Runtime
Small bare-root whips have a much smaller initial water demand than large pot-grown, root-balled or instant hedge plants.
A substantial evergreen hedge carries a large amount of foliage but initially relies on a restricted root system. It can therefore lose water more quickly than its newly planted roots can replace it, particularly during warm or windy conditions.
For larger plants, a 30-minute cycle may only wet part of the root ball. These hedges may need a longer cycle, two irrigation lines or closer monitoring during their first growing seasons. Semi-mature and instant hedging requires especially careful watering during establishment.
Where Should the Drip Pipe Be Positioned?
For a newly planted single-row hedge, position the irrigation pipe over the root area rather than against the stems or along the outside edge of the planting strip.
Where plants have wide root balls or have been planted in a staggered double row, two irrigation lines may provide more even coverage than one narrow central line.
The pipe can normally sit beneath the mulch but above the soil where it remains accessible for inspection and repair. Test the complete system before covering it. HPD’s Laurel care guide recommends positioning irrigation close to the centre of the root balls and considering two lines for wide root systems or double-row planting.
You can view the complete Hedge and Garden Irrigation system for pipe, connectors and pressure regulation.
How Often Should Hedge Irrigation Be Run?
Runtime and frequency must be considered together. A slow, thorough application is generally more useful than repeatedly wetting only the top few centimetres of soil.
Newly planted hedges require regular monitoring during dry weather while roots spread into the surrounding ground. The RHS recommends keeping new hedges well watered through their first two years. Established hedges normally require much less additional water, although prolonged hot, dry or windy periods can still create drought stress.
Do not continue running the irrigation simply because the timer is programmed. Reduce or pause it after substantial rainfall and whenever the soil remains moist at root depth.
Signs the Irrigation Has Not Run for Long Enough
Possible signs include:
- The soil surface is damp but the original root ball remains dry
- Leaves droop, curl or become crisp at the edges
- New shoots wilt or stop extending
- Plants at the far end of the line decline first
- One isolated plant remains dry because an outlet is blocked
Inspect the system before simply extending the timer. Increasing the runtime will not correct a blocked nozzle or poorly positioned pipe.
Signs the Irrigation Is Running for Too Long
Possible signs of excessive watering include:
- Water standing around the hedge after irrigation
- Soil remaining saturated or smelling stagnant
- Yellowing foliage while the root area is wet
- Decline concentrated in low points along the trench
- Dark, soft or poorly developed roots
These symptoms can also be associated with compacted soil or inadequate drainage. Stop irrigating and inspect the ground before applying more water.
Adjust the Timer Through the Seasons
A setting that works during a hot, windy week may apply too much water during cooler weather.
Check the soil regularly and adjust the programme after rainfall, temperature changes and periods of strong wind. Newly planted hedges need the closest attention, while established hedges can normally be watered less frequently and mainly during extended dry spells.
Recording the runtime that works for your soil and irrigation system provides a useful starting point, but the condition of the root zone should always take priority over the timer.
Gwynne's Grower's Tip
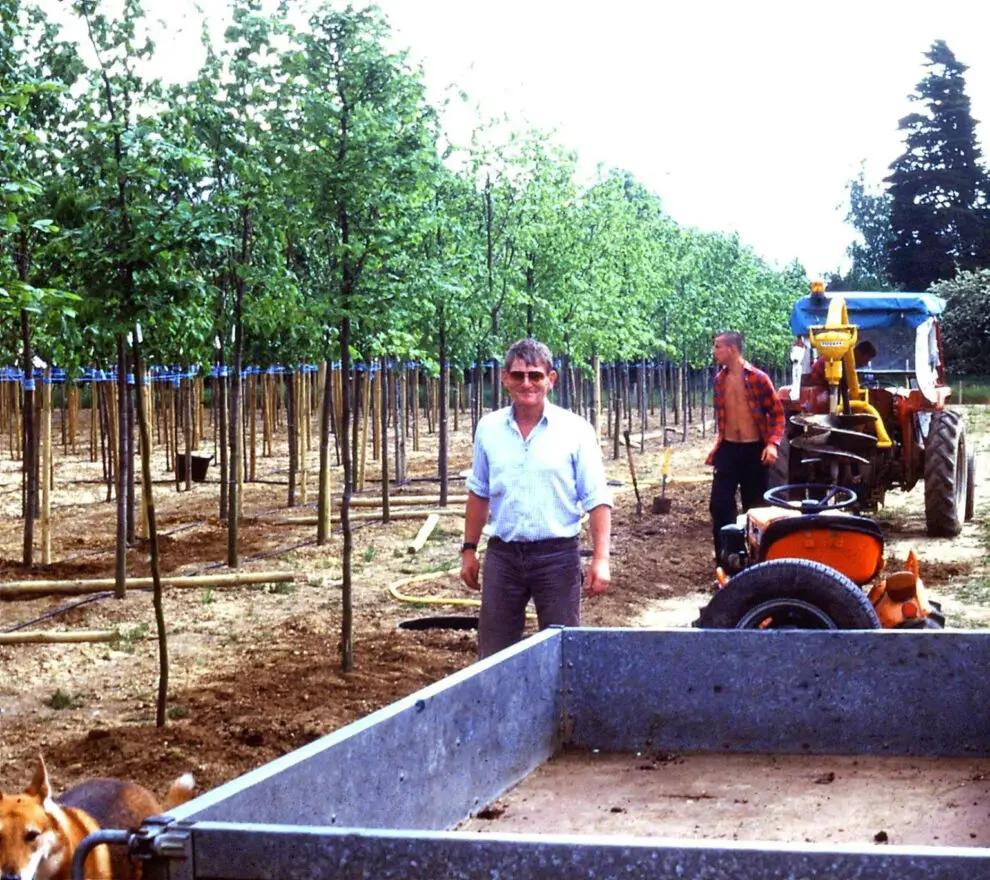
The common mistake with a long hedge is checking the soil beside the tap and assuming the whole row is receiving the same amount. After the system has run, lift the mulch and inspect the original root ball at the beginning, middle and far end. If one section is dry, extending the timer may only overwater the rest. Look first for a blocked outlet, kink, pressure problem or pipe positioned too far from the roots. Correct the delivery problem before increasing the runtime.
Related Products
Products from our nursery that are relevant to this advice.


Useful Planting Essentials
Selected products that may help with planting, establishment and ongoing hedge care.
Rootgrow Mycorrhizal Fungi
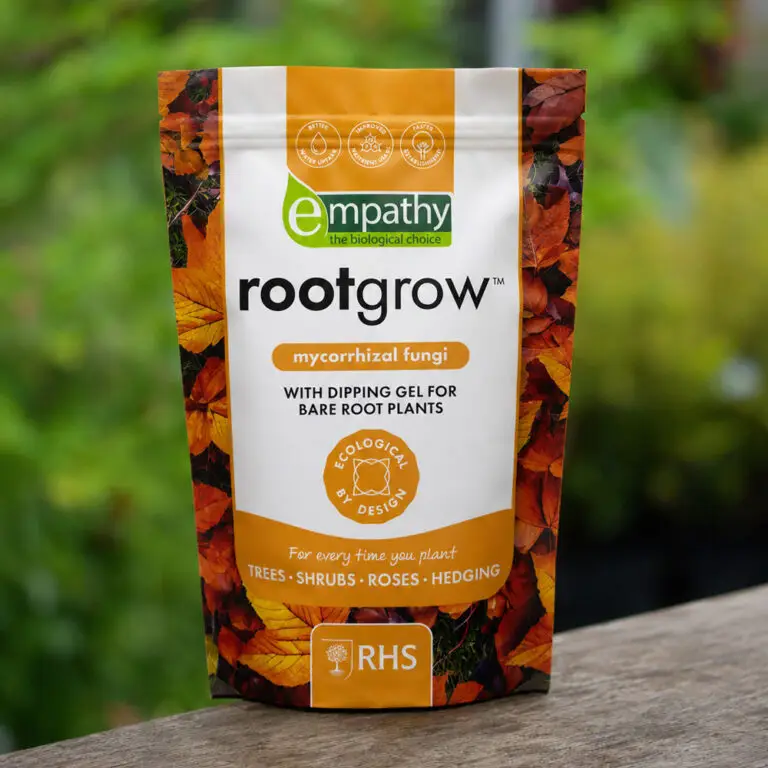
Rootgrow can be applied at planting so the product is in direct contact with the roots, where appropriate for the plant and planting method.
View product
Hedge Feed
Hedge Feed provides balanced nutrition where established hedging would benefit from feeding as part of normal care.
View product
Hedge Irrigation
A hedge irrigation system can make it easier to water a new hedge consistently, particularly on longer runs and during dry weather.
View product
Hedge Compost & Mulch
Compost and mulch can support soil preparation, moisture retention and weed suppression when used appropriately around new hedging.
View product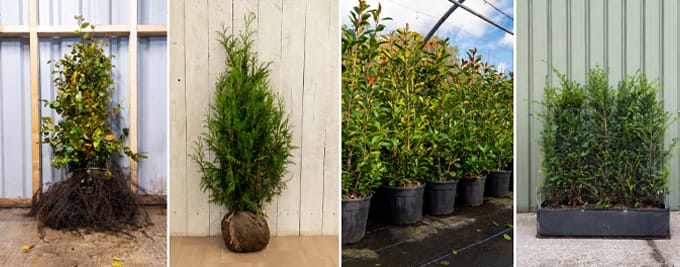
What Are the Different Hedging Root Types?
Bare root, root ball, pot-grown and instant hedging suit different budgets, planting times and levels of initial coverage. Understanding how each is…
Read answer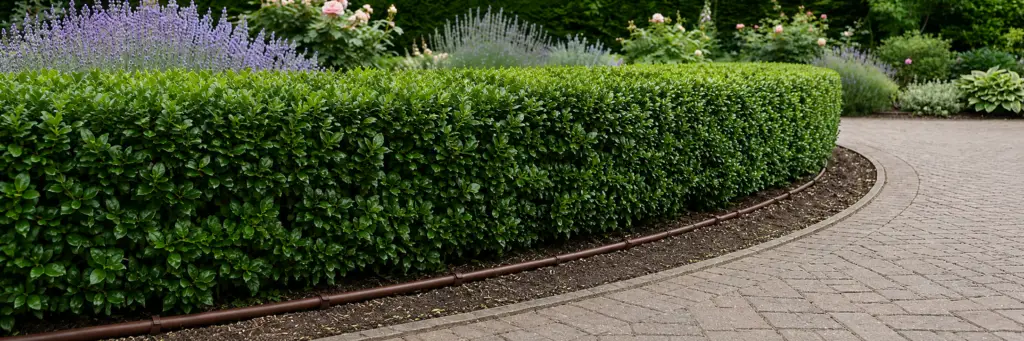
What Is the Best Soaker Hose for Hedges?
A well-chosen soaker hose makes it easier to water a hedge evenly without wetting the foliage or carrying a watering can along…
Read answer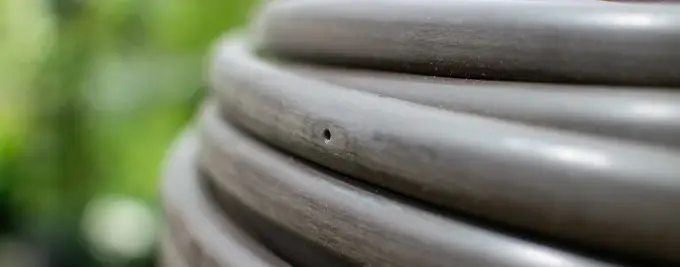
What Is the Best Watering System for a Hedge?
A good hedge watering system should deliver moisture slowly and evenly along the whole planting line. The most suitable setup depends on…
Read answer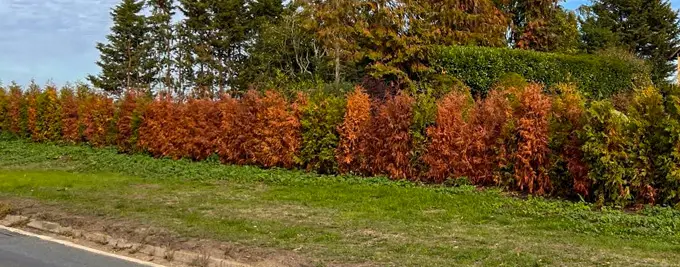
Why Is My Hedge Turning Brown?
A hedge can turn brown for several very different reasons, including dry roots, waterlogged soil, frost, wind, trimming damage or disease. The…
Read answerWhat Is the Best Soaker Hose for Hedges?
A well-chosen soaker hose makes it easier to water a hedge evenly without wetting the foliage or carrying a watering can along…
Read answerWhat Is the Best Watering System for a Hedge?
A good hedge watering system should deliver moisture slowly and evenly along the whole planting line. The most suitable setup depends on…
Read answer