
A Beginner's Guide: How And When To Trim A Hedge
Whether you’ve just moved into a home with established hedges or you’re watching your newly planted boundary grow taller each month, knowing how and when to trim a hedge is one of the most practical gardening skills you can learn. At Hedging Plants Direct, we’ve helped thousands of UK gardeners plant and care for their hedges, and we’ve seen first hand that getting the basics right makes all the difference.
The good news? Correct timing and basic technique matter far more than expensive equipment or years of gardening experience. Most common UK hedges Privet, Laurel, Beech, Yew, Hawthorn, and Thuja – Western Red Cedar respond beautifully to gentle, regular trimming. You don’t need to be an expert to keep your boundary looking healthy and full.
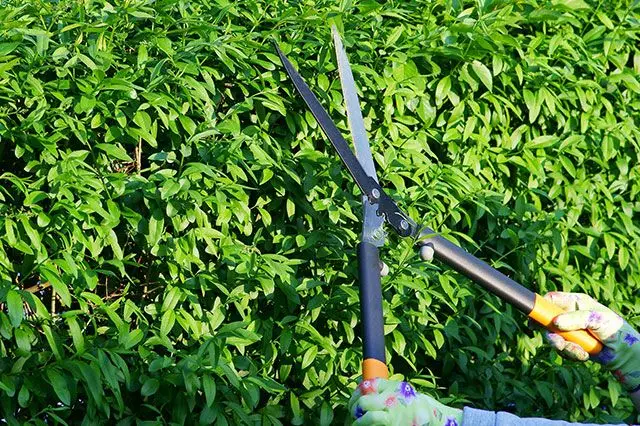
Before you pick up your shears, there are two things every beginner should know. First, always check for nesting birds before you start trimming, particularly between March and August when most species are breeding. Second, never trim your hedge so the top is wider than the base—this simple rule prevents bare patches and keeps lower branches healthy. Let’s walk through everything else you need to know.
Guide contents
- 1. Why Trimming Your Hedge Matters
- 2. When Is the Best Time to Trim a Hedge?
- 3. How Often Should You Trim Different Hedge Styles?
- 4. Choosing the Right Tools for Small and Large Hedges
- 5. How to Trim a Hedge: Simple Step-by-Step
- 6. Special Considerations for Young, Evergreen and Overgrown Hedges
- 7. Planning and Shopping for the Perfect Hedge
Why Trimming Your Hedge Matters
Hedge trimming isn’t just about keeping things tidy. Regular cutting keeps hedges dense, healthy, and genuinely useful as a living boundary. When you trim correctly, you stimulate the plant to produce more side shoots along its length, which fills in gaps and creates that thick, privacy-boosting wall of foliage every gardener wants.
There are two main types of hedge work to understand as a beginner:
Formative pruning happens during the first two to three years after planting. The goal is to build a strong framework of branches low down, not to create a perfectly neat shape straight away.
Maintenance trimming takes over once your hedge is established. This is the regular clipping that keeps your hedge at the desired height and width, year after year.
The Benefits of Regular Trimming
Keeping up with hedge cutting brings several practical advantages:
Better privacy and noise reduction thanks to thicker growth that blocks sightlines and absorbs sound
Stronger structure that copes with wind, rain, and snow without splaying open or losing shape
Fewer bare patches and gaps because light reaches all parts of the plant, not just the top
Improved flowering and berry production on many native hedges, supporting wildlife while looking attractive
Consider a Privet hedge trimmed twice during the growing season. Each cut encourages new growth to sprout from the stems below, creating a dense mesh of foliage from ground level upwards. Compare that to a neglected hedge where only the top sees sunlight—the lower branches become thin, leggy, and eventually die off, leaving unsightly gaps at the base.
Beech hedges work similarly. A light maintenance trim in July, after the main flush of growth, keeps the hedge compact and encourages it to hold onto its copper autumn leaves right through winter. Skip the trim, and you’ll find the hedge becomes open and straggly within a couple of seasons.
When Is the Best Time to Trim a Hedge?
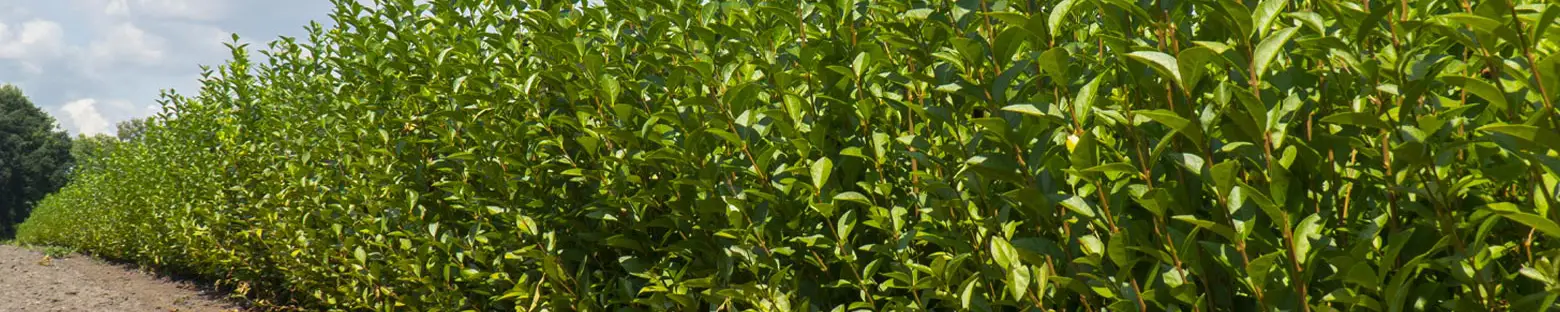
Timing your hedge pruning depends on three factors: the age of your hedge (young versus mature), the type of plants (deciduous, evergreen, or conifer), and UK wildlife law. Getting this right protects both your plants and the birds that rely on hedges for nesting.
Formative Pruning for Young Hedges
If you’ve recently planted a new hedge particularly bare-root or root-ball hedging supplied over winter formative pruning is best done in late winter to early spring, typically February to early March. At this point, plants are still dormant but about to burst into growth.
The aim during formative pruning is to encourage branching low down, creating a bushy base rather than a tall, thin stem. Don’t worry about keeping things perfectly neat during these first seasons. You’re building the framework that will support decades of healthy growth.
Maintenance Trimming for Established Hedges
Once your hedge has reached roughly the size and shape you want, you’ll move into a regular maintenance schedule. For most hedges in UK gardens, the main trim happens once a year between late June and early August, after the first strong flush of new growth has slowed.
Fast-growing species Privet, Leylandii, and Cherry Laurel in particular—may benefit from a light second trim in early autumn, typically September. This keeps them looking sharp heading into winter and prevents them from getting out of hand before the next main cut.
Protecting Nesting Birds
Here’s where UK law comes into play. Under the Wildlife and Countryside Act 1981, it is an offence to intentionally disturb birds while they are nesting or to destroy an active nest. The nesting season broadly runs from March to August, though some species start earlier or finish later.
Before you start trimming during these months:
Check your hedge carefully for birds nests, listening for cheeping and watching for adult birds flying in and out
If you find an active nest, leave that section of the hedge alone until the chicks have fledged
Schedule major trims for late August through February where possible, when most nesting activity has finished
For routine maintenance in summer, a quick inspection before cutting is usually enough. If you’re planning more significant hedge cutting—reducing height or doing renovation work—it’s safest to wait until the nesting season is over.
Timing by Hedge Type
Different hedging plants have slightly different preferences. Here’s a quick guide to some of the most popular UK species:
Formative pruning in late winter (February–March)
Light maintenance trim in July after the main growth flush
Avoid cutting hard in late autumn, as this removes the leaves they’d otherwise hold through winter
Evergreen Laurel (including Cherry Laurel and Portuguese Laurel)
One main trim in late June to July, after spring growth has finished
A possible light tidy in September if growth has been vigorous
Can tolerate harder cuts if needed, but looks neater when pruned with secateurs on large leaves
Main trim in late August or early September
Minor touch-ups can be done in summer if needed
Responds well to renovation, so don’t be afraid to cut harder if the hedge has become overgrown
Fast-growing conifers (Leylandii, Thuja,)
Little and often is the key: light trims from late spring through late summer
Never cut back beyond green foliage into bare brown wood—it won’t regrow
Keep on top of growth to avoid needing drastic reductions later
How Often Should You Trim Different Hedge Styles?
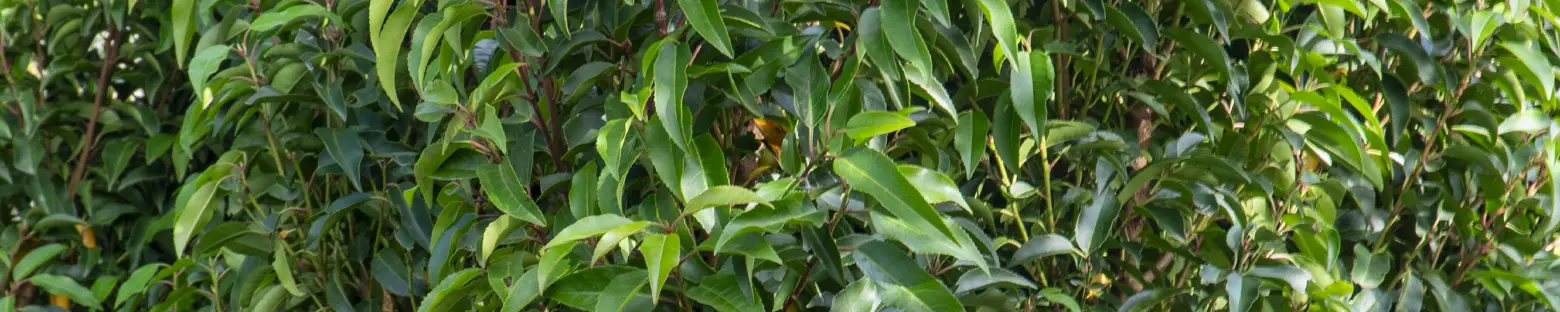
The frequency of trimming hedges depends largely on whether you’re maintaining formal hedges with precise shapes or informal hedges with a looser, more natural shape. Understanding which style you have or want helps you plan your cutting schedule.
Formal hedges are clipped to geometric shapes with straight lines and a well defined structure. Think of the neat box hedging around a parterre or a tightly trimmed yew boundary.
Informal hedges are allowed to grow more freely, often left to flower and fruit. Native mixed hedges and flowering hedges like escallonia or viburnum usually fall into this category.
Typical Trimming Frequencies
Formal evergreen hedges (Yew, Box, Common Privet): Two to three trims per year, focusing on light cuts rather than heavy reductions. The aim is to maintain those crisp edges and a tidy appearance.
Fast-growing boundary hedges (Leylandii, Cherry Laurel, Western Red Cedar): One to three trims per year depending on how strictly you need to control size. If your local council has rules about maximum hedge height near boundaries, you may need to trim more frequently.
Informal flowering hedges (Hawthorn, Blackthorn, Viburnum): Usually one trim per year, often timed just after flowering to avoid removing next year’s blooms. These hedges benefit from keeping their natural shape rather than being cut into formal lines.
Wildlife-friendly native mixes: Once a year or every other year, timed to avoid the peak nesting season and to leave berries for birds where possible. Late winter is often ideal.
The Golden Rule: Little and Often
Frequent, light trims are kinder to your hedge and far easier than infrequent, heavy cuts. Removing just 10–20cm of new shoots at a time causes minimal stress to the plant and keeps regrowth manageable.
Watch how quickly new growth appears after each trim. If your hedge bounces back within weeks, you’ll know it can handle regular clipping. If growth is slow, ease back on the frequency and give the plant time to recover.
For customers planting new hedges from Hedging Plants Direct, we recommend following a two to three year formative plan, then moving into the regular maintenance schedule above. This approach builds a strong, dense hedge from the start.
Choosing the Right Tools for Small and Large Hedges
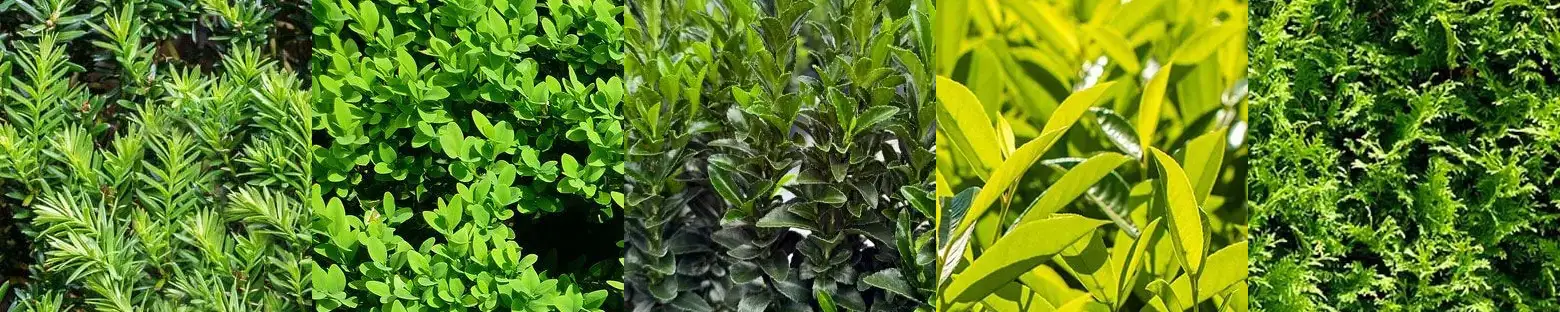
You don’t need a shed full of professional equipment to maintain a garden hedge. Simple, well-maintained tools are enough for most beginners, and prioritising safety matters more than speed.
Tools for Small or Low Hedges
For small hedges, box balls, or low formal edging, hand tools offer the most control:
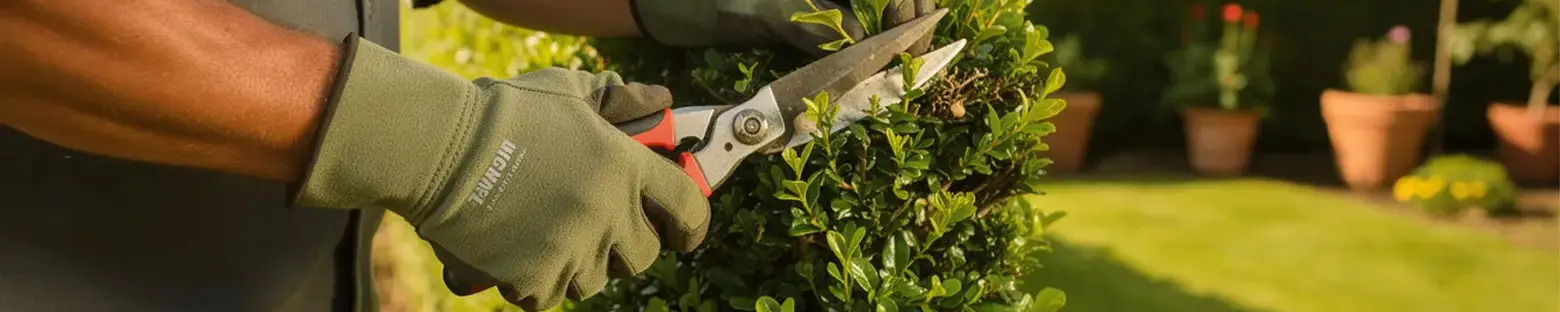
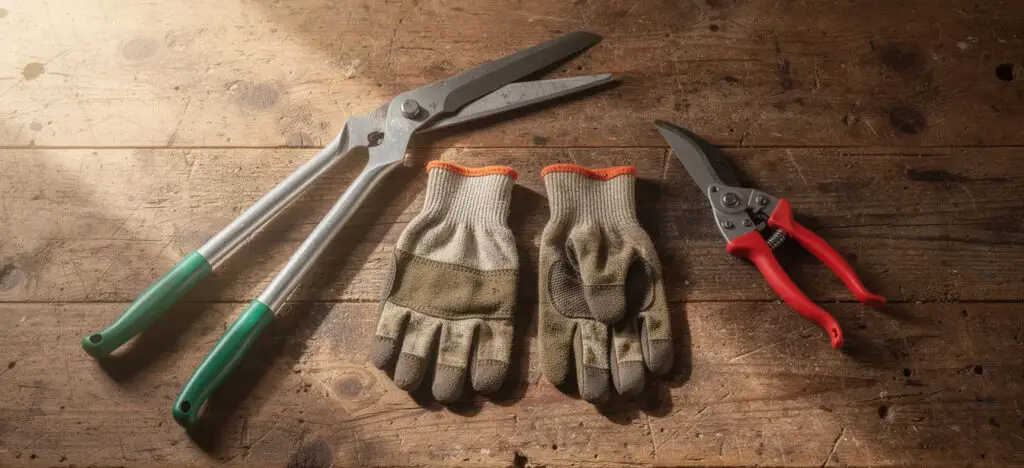
Hand shears are ideal for fine, neat work on box, yew, and small mixed native hedges. They give you precise control and make it easy to achieve a straight edge.
Secateurs (bypass type) handle thicker stems or corrective cuts, useful for Hawthorn, Blackthorn, or Cherry Laurel where individual branches need removing. Bypass blades give a cleaner cut than anvil types, which helps wounds heal faster.
Telescopic shears extend your reach for slightly taller hedges without needing to drag out a step ladder.
Tools for Taller or Longer Hedges
When you’re dealing with large hedges or long boundary runs, powered tools save significant time and effort:
Electric trimmers (corded or cordless) suit medium to long hedges along a boundary. Cordless battery models have improved dramatically, with 40V lithium-ion trimmers offering one to two hours of runtime and matching petrol power at a fraction of the running cost.
Long-reach pole trimmers tackle tall hedges without the hazards of working from ladders. These can extend 60 inches or more, making it possible to trim the top of a 10-foot hedge from ground level.
Petrol trimmers are generally for large gardens or professional landscapers. They’re heavier and louder but offer unlimited runtime for big jobs.
Safety First
Whatever tools you choose, personal protective equipment is essential:
Wear thick gloves to protect against cuts and blisters
Use safety goggles or glasses to shield your eyes from flying debris
Put on sturdy boots with good grip, especially if working on slopes or uneven ground
Avoid working on ladders with heavy powered tools unless you’re confident and the ladder is properly secured
Never use electric trimmers in rain, on very wet ground, or in strong winds
For very high or overgrown hedges—particularly those near roads or public paths—consider calling in a professional landscaper. It’s not worth risking injury on a difficult job.
How to Trim a Hedge: Simple Step-by-Step
Ready to start trimming? Follow these steps for a straightforward afternoon’s work that leaves your hedge looking neat and healthy.
Step 1 – Check the Hedge and Plan
Before you make a single cut, inspect the hedge carefully:
Look for birds nests, hedgehog runs, or other wildlife, especially between March and August
Check for hazards like hidden wires, metal posts, or old fencing that could damage your blades
Decide how much to remove. For beginners, aim to take off no more than 10–20cm of new growth at a time
Step 2 – Prepare the Area
A little preparation makes cleanup much easier:
Clear toys, pots, furniture, and anything else from around the hedge base
Lay a tarpaulin or old sheet along the hedge to catch clippings—this speeds up tidying by 90%
If using a step ladder, set it up on firm, level ground and have someone hold it if possible
Step 3 – Mark Your Guide
Keeping your hedge straight and level is easier with a visual reference:
Stretch a string line between canes at the desired height, positioned 1–2cm above where you want the final top to sit (to account for blade thickness)
Alternatively, use an existing fence line or path edge as your guide
Remember the key rule: aim for the hedge to be slightly narrower at the top than at the base. This wedge shape ensures sunlight reaches the lower branches, preventing bare patches
Step 4 – Trim the Sides First
With your guide in place, begin cutting the sides:
Work from the bottom up using smooth, sweeping movements
Keep the blades parallel to the hedge surface for an even cut
Step back regularly—every couple of metres—to check for bulges, hollows, or missed patches
Take your time. Rushing leads to uneven results and increases the chance of accidents
Step 5 – Trim the Top
Once the sides look good, move to the top:
Use your string line to keep everything level
Stand where you can look along the length of the hedge, not just straight down at it
Move slowly and steadily, allowing clippings to fall away from you and into the tarp below
For tall hedges, work in sections rather than trying to reach across the whole width at once
Step 6 – Tidy and Check
After the main trim, refine your work:
Use secateurs to remove any thick, odd, or crossing branches that the trimmer missed
Trim dead or diseased branches back to healthy wood
Gently shake or rake the hedge to dislodge clippings caught in the foliage
Inspect for missed patches and touch up lightly—resist the urge to cut harder to “fix” things
Step 7 – Clean Up
Finishing properly protects your garden and your tools:
Gather clippings from the tarp and lawn. Healthy green garden waste composts in six to twelve weeks
Sweep paths and patios to prevent slipping on wet leaves
Wipe sap and debris from your blades, then apply a light oil to prevent rust
Store tools safely, ready for next time
Special Considerations for Young, Evergreen and Overgrown Hedges
Different situations call for slightly different approaches. Here’s how to handle the scenarios beginners most commonly face.
Young Hedges (First Two to Three Years)
With young hedges, patience pays off. The aim is to encourage branching low down rather than chasing a sharp, formal line immediately.
Tip-prune side shoots lightly in late winter to stimulate bushy growth
Trim again lightly in mid-summer if growth has been strong
Leave the top to grow until the hedge approaches your desired height, then begin trimming to shape
This formative pruning approach builds a dense framework from the base up, which is much harder to achieve if you let the hedge grow tall before starting to trim.
Evergreen Conifers (Western Red Cedar, Leylandii, Yew)
Fast-growing conifers need careful handling because they don’t regenerate from old wood:
Never cut back beyond green foliage into bare brown wood. Those sections won’t regrow, leaving permanent gaps.
Trim frequently and lightly during the growing season—late spring through late summer—rather than doing one heavy cut
Example: A thuja hedge trimmed once in late June and again lightly in August stays compact and avoids the need for drastic reduction
If a conifer hedge has already grown too large, you may need to replace it rather than try to cut it back hard. This is one area where choosing the right plant from the start really matters.
Broadleaf Evergreens (Laurel, Cherry Laurel, Portuguese Laurel)
These tough hedging plants tolerate harder cuts than conifers but look better when treated gently:
Prune after the main growth flush, typically late June to July
Use secateurs on large leaves where possible. Hedge trimmers can shred big laurel leaves, leaving brown edges that look unsightly.
Reduce height and width gradually over two to three seasons rather than in one severe cut
Laurel hedges respond well to renovation if they’ve been neglected, but gradual reduction causes less stress to the plant and looks better during the recovery period.
Old or Overgrown Hedges
Tackling overgrown hedges can feel daunting, but many species respond remarkably well to renovation:
Yew, privet, hawthorn, and beech all tolerate radical pruning. Cut back hard in late winter (February–March), and they’ll regrow vigorously.
Use the three-year approach for best results: remove one-third of the oldest, thickest stems each year. By year three, you’ll have a fully renewed hedge with much denser foliage.
Take one side at a time on large hedges. This allows wildlife to shelter in the untouched side while the cut section regenerates, and it keeps the hedge looking reasonable during the process.
Seek professional help for major reductions, roadside hedges, or if you’re unsure of the species
If you’re planning a new hedge from Hedging Plants Direct, think ahead about the eventual size you want. Choosing appropriate species and spacing from the start means less drastic cutting will be needed later.
Planning and Shopping for the Perfect Hedge
The easiest hedge to maintain is one that’s suited to your site and your goals from the start. Choosing the right hedging plants makes long-term trimming simpler and more rewarding.
At Hedging Plants Direct, we supply bare-root, pot-grown, and instant hedges to suit different timescales and budgets. Whether you want the cost-effectiveness of bare-root plants (planted in winter), the flexibility of pot-grown specimens (planted year-round), or the immediate impact of instant hedging, there’s an option to match your needs.
Easy-to-Maintain Choices for Beginners
If you’re new to hedge care, consider these popular species:
Privet or Yew for neat formal boundaries. Both respond well to regular clipping and can be shaped to create straight lines and geometric shapes.
Laurel or Portuguese laurel for year-round evergreen screening. These fast growers establish quickly and tolerate a range of soil conditions.
Mixed native hedging (hawthorn, blackthorn, hazel, dog rose) for wildlife-rich, informal hedges. These need less frequent trimming and support birds, bees, and other wildlife through the seasons.
Get Tailored Advice
Every garden is different, and spacing, soil type, and aspect all affect how your hedge will grow. The team at Hedging Plants Direct can help you choose the right plants for your situation and advise on how your chosen hedge will need to be trimmed over time.
Whether you’re planting a short run of Euonymus edging or a 1000-metre farm boundary, we’re here to help you get it right from day one.
With simple timing rules, the right tools, and gentle, regular trimming, anyone can keep a healthy, attractive hedge. Start with the basics—check for nesting birds, keep the top narrower than the base, and trim little and often—and you’ll find hedge maintenance becomes a satisfying part of your gardening routine rather than a dreaded chore.
Ready to plant your perfect hedge? Browse our range of hedging plants or contact Hedging Plants Direct for expert advice tailored to your garden.