Are you dreaming of a lush, green hedge that provides privacy and adds beauty to your property?
In this comprehensive guide, we will walk you through the process of selecting, unboxing, planting, and caring for your perfect hedge.
Say goodbye to dull, lifeless borders and hello to thriving, vibrant greenery!
Proper planting techniques and ongoing care are the keys to a thriving, beautiful hedge. From unboxing, soil preparation to following our planting instructions carefully, each step plays a significant role in the overall success of your hedge.
In the following sections, we will discuss unboxing your plants, soil preparation, the planting process, and providing ongoing care to keep your hedge thriving.
As soon as your plants arrive, please remove them from their packaging. They should be stored in a cool dry place, like a shed or a garage until ready for planting. Keep them away from strong winds which can dry out the roots and cause damage.
Additional notes for Bare Root Hedges
All bare root plants are dipped in a solution of Potassium Phosphite to improve disease resistance and help support the roots while they are dormant. However it is important that you store your plants correctly and plant them as soon as possible.
If planting is going to be delayed by more than 2 days, heel the plants in. Simply dig a narrow trench approximately 30cm deep and with one side sloping at about 45 degrees. Remove your plants from all of the packaging and plunge the roots into a bucket of water for a couple of hours.
Keeping them in their bundles, gently place your hedge plants in the trench with the stems at leaning against the side of the trench and the roots in the soil. Carefully backfill the trench with soil and firm it down. Water the plants to settle the soil.
Good soil preparation within your intended planting area is fundamental for the successful establishment of your hedge. Good ground preparation involves clearing the area of any previously planted hedges, eliminating all weeds and incorporating organic matter such as well-rotted manure or garden compost.
Adding organic matter not only provides nutrients for your hedge plants, but also improves the soil's structure and moisture retention capabilities. To promote robust root development, we highly advise applying the recommended amount of Rootgrow to the bottom of the trench. This will help the roots to establish quickly and make your plants thrive.
For a thicker hedge, you can choose to plant your hedge using a staggered double row instead of a single row, This will result in a wider and thicker hedge.
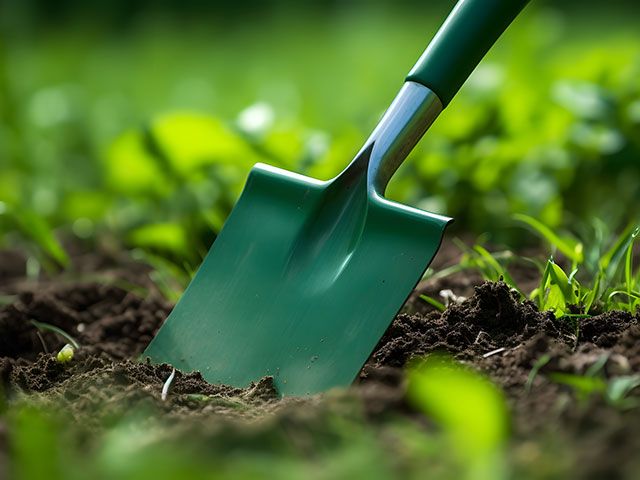
Step 1 - Dig the trench
Start by digging a trench, the depth and width of a spade to allow for the proper growth of the hedge plants' roots. Using a garden fork, loosen the soil in the sides and bottom of the trench to facilitate root growth and better drainage of the root system.
Step 2 - Add compost and nutrients to the trench
Next, incorporate high-grade compost and Rootgrow into the trench to provide the necessary nutrients for your hedge plants.
Step 3 - Plant the hedge and backfill with soil
Finally, plant your hedge plants at the same depth using the recommended planting distances per meter depending on the species of hedge, leaving sufficient space for their development.
Step 1 - Dig the trench
Start by digging a trench, the width should be 50% wider than the root system to allow room for the roots to grow. Using a garden fork, loosen the soil in the sides and bottom of the trench to facilitate root growth and better drainage of the root system.
Step 2 - Add compost and nutrients to the trench
Next, incorporate high-grade compost and Rootgrow into the trench to provide the necessary nutrients for your hedge plants.
Step 3 - Plant the hedge and backfill with soil
Finally, plant your hedge plants at the same depth using the recommended planting distances per meter depending on the species of hedge, leaving sufficient space for their development.
Caring for your hedge plants doesn't end after planting. Regular watering, especially during periods of drought, is essential for your plants' health and growth. Prune your hedge plants during the winter season or early spring to encourage healthy growth and maintain their shape.
Keeping weeds and grass at bay is also important, as they can compete with your hedge plants for nutrients and water. To ensure the optimal growth of your hedge, plant with both Rootgrow and a secondary plant feed such as our long lasting granular Hedge Feed.
For further information on hedge planting, please refer to our species specific planting guides.
Timing is crucial when it comes to planting your hedge. It's important to plant a hedge when the soil is workable, especially if the ground is frozen or waterlogged.
In the following sections, we will discuss the ideal planting time, what to do if planting is delayed, and how to protect your plants' roots during the planting process.
The optimal time to plant your new hedge plants is during the autumn or late winter months, between November and March, when the plants are in a dormant state. Planting during this time offers several advantages, including lower temperatures, reduced competition from weeds nesting birds, and additional time for the plants to establish their root systems before the summer heat arrives.
On the other hand, planting during the summer can present certain risks, as hot temperatures can cause the plants to become stressed and dehydrated, potentially leading to poor growth and even death. To mitigate these risks, ensure proper soil preparation, provide sufficient water and nutrients, and protect your plants from extreme temperatures.
Delaying planting can lead to various issues, such as yield loss, increased susceptibility to diseases, and altered timing of when the plants will mature and produce fruit or flowers. If you are not prepared to plant bare root hedges upon delivery, it is recommended to store the plants for a brief period.
If planting must be delayed, it is important to protect the roots of your plants. This can be done by covering the roots with moist straw, paper, or hedge compost, or temporarily planting the hedge close together. Taking these precautions will help ensure the health and success of your hedge plants when they are eventually planted.
Protecting the roots of your hedge plants is an essential aspect of the planting process. Techniques such as using spiral hedging guards or bamboo canes can safeguard the stems and provide support, while maintaining the roots moist and well-maintained is crucial for their overall health and establishment.
To utilise spiral hedging guards and bamboo canes effectively, they should be positioned around the base of the plant and firmly secured in the ground. Remember to water your plants regularly and mulch around the base to help retain moisture and prevent the root structure from drying out.
The foundation of a thriving hedge starts with selecting the right plants. This decision is influenced by factors like species, bare-root vs pot-grown, and preparing plant roots. Each of these factors plays a crucial role in ensuring that your hedge plants are well-suited for your specific needs and environment, making the selection process a vital step in your hedge-planting journey.
Species selection is particularly important because it determines the overall look, growth rate, and maintenance requirements of your hedge. In the following sections, we will delve deeper into each of these factors, equipping you with the knowledge you need to make the best decision for your hedge-plants.
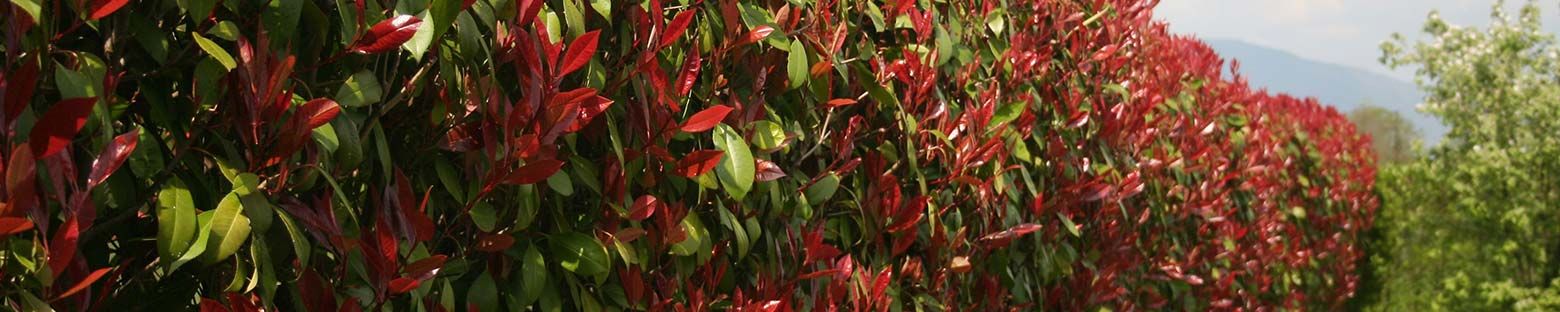
Choosing the right species is essential for the success of your hedge. Factors like climate, soil conditions, and desired hedge height should be taken into account when making your decision. Some popular options include Leylandii, Laurel Hedging, Portuguese Laurel, Thuja, and Griselinia Littoralis hedge, among others. It's also important to consider indigenous hedges and how they can grow locally in similar circumstances and soil conditions.
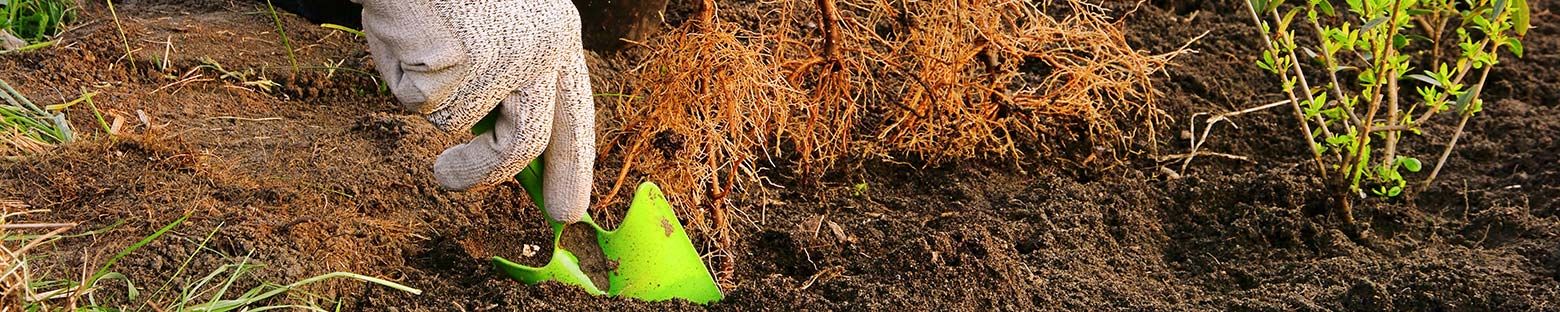
In addition to selecting the appropriate species, it is imperative that you remove any synthetic fiber wrapping from the roots of your plants. This ensures that the roots can properly establish themselves in the soil and support the growth of your new hedge.
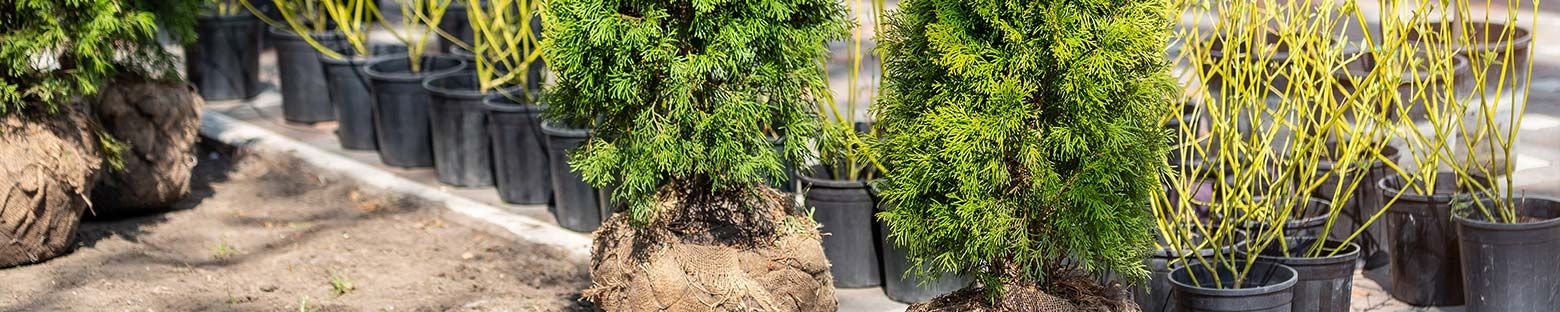
When choosing between bare root hedging plants, root balled plants, pot grown plants and instant hedging, there are a few key differences to consider.
Bare root and root balled plants are the best hedges if you are on a budget, but they must be planted during a specific growing season. On the other hand, pot-grown plants may be more expensive, but they offer the convenience of being able to plant at any time of year. There are advantages to both types of plants. Bare root plants are more budget-friendly and tend to have more roots than container grown plants, which can help them establish more quickly.
Pot-grown plants, while more costly, are easier to transport and can be planted at any time of the year, providing flexibility in your planting schedule.
Properly preparing plant roots is crucial for the successful establishment of your hedge. This includes trimming away any damaged roots and dispersing residual roots to achieve the appropriate planting depth. Ensuring that your plants' roots are in good condition will help them anchor themselves in the soil and support healthy growth.
When planting, it's essential to remove any synthetic fibre wrapping from the roots of your plants. This allows the roots of young plants to make direct contact with the soil, facilitating better establishment and growth.
Growing a beautiful hedge can sometimes present challenges, such as attaining the desired size, dealing with establishment issues, and providing shelter.
In the following sections, we will discuss these common challenges and provide tips on how to overcome them to achieve a thriving, picturesque hedge.
The growth timeline for hedge plants can vary depending on the species and factors such as climate, soil, and the amount of sunlight and water the plant receives. Be patient, as it may take several years for your hedge to reach its desired size.
To ensure optimal growth for new hedges, select the appropriate type same species of plant for your climate, prepare the soil adequately, and provide sufficient sunlight and water. By following these guidelines, you can help your hedge plants grow at a healthy pace and achieve their full potential.
Establishment issues are common challenges faced when planting hedges. These can include a lack of water, inadequate planting, failure of the plants to establish correctly, and competition between plants if they are planted too closely together.
Proper management and care are essential for the successful establishment of a hedge. By ensuring that your hedge is planted correctly and that the plants are provided with the necessary resources to thrive, you can overcome these challenges and enjoy a healthy, beautiful hedge.
Providing shelter for your hedge plants is crucial in protecting them from strong winds, heavy precipitation, and other extreme weather conditions. Planting hedges or rows of trees and coastal hedging plants can provide effective shelter and even offer a habitat for beneficial insects and fauna.
When planting hedges, trees, or coastal hedging plants, make sure they are situated in a sheltered location. This will help protect them from harsh, dry weather and conditions and ensure their healthy growth and development.
In conclusion, planting and maintaining a beautiful hedge takes time, effort, and knowledge.
By carefully selecting the right hedge plants, timing your planting, employing proper planting techniques, and providing ongoing care, you can overcome common challenges and create a thriving, picturesque hedge that will enhance the beauty and value of your property.
With the information provided in this guide and the additional resources available, you are well-equipped to embark on your hedge-planting journey and watch your dream hedge come to life.
For a hedge, it is best to select deciduous or evergreen shrubs that are native to your area. Common choices for evergreen hedging plants include laurel, privet, euonymus, hawthorn, holly hedging and box.
With careful selection, you can create an attractive and long-lasting hedge to suit your needs.
For optimal growth and results, the best time to plant hedges is between mid-October and the end of March for bare root and root ball hedging, or from the start of September to mid-October or from the beginning of April to mid-May for root balled evergreens.
Proper soil preparation prior to planting is also essential for success.
The fastest growing hedge for most gardens is the Common Privet, which can grow up to 30-60cm a year with regular pruning. It is a popular evergreen or semi-evergreen hedge with dark green ovate leaves and white flowers, providing a great source of privacy in any garden setting.
It is a hardy plant that can tolerate a wide range of soil types and conditions, making it an ideal choice for gardeners of all levels. It is also relatively low maintenance, requiring only occasional pruning to keep it in good shape.
The most cost-effective way to grow a hedge is to simply plant bare-root plants during the dormant season of November to February. Beech, Hornbeam and Yew Hedges are all popular hedging plants which can be planted in this way.
Whereas evergreen plants such as privet should be planted in early to mid autumn. By following these tips, you can enjoy a thriving hedge at an affordable cost.
To ensure the growth of a healthy hedge, preparation of the soil is key. Remove any weeds, dig over the soil, and add compost or Rootgrow to ensure it is well fertilised before planting.
This should be done a few weeks in advance for the best results.